JavaScriptで横スクロール。ハイブリッド・スクロールを実現する方法。
公開日 :
- コーディング
こんにちは!アンドエイチエーのコーディング部です。
最近のウェブアニメーションには、魅力的なトレンドが生まれています。
例えば、ウェブページをスクロールすると、特定のセクションに入ると従来の縦スクロールから横スクロールに切り替わり、その後縦スクロールに戻るといった動き。
この革新的なテクニックは、”ハイブリッド・スクロール“と呼ばれています。
今回は、シンプルなCSSと素のJavaScriptでこの効果を実現する方法をご紹介します。
目次
効果の基本
まずは、どのようにしてこの効果を実現したのか、実際のコードを見てください。
See the Pen hybrid scrolling by bibomato (@bibomato) on CodePen.
HTML
見た目には、特別なことが起きているようには見えませんよね。
これはHTMLの構造を簡略化したもので、楕円で囲まれた部分が水平方向にスクロールする要素です。
<section>
  <div>
    <h1></h1>
    <p></p>
  </div>
</section>

<div class="scroll_container">
  <div class="sticky_wrap">
    <div class="horizontal_scroll">
      ...
      ...
    </div>
  </div>
</div>

<section>
  <div>
    <h1></h1>
    <p></p>
  </div>
</section>
position: sticky ついては、下記のCSSプロパティを詳しく解説したブログ記事をご参照ください。
position: stickyが効かない?使えない条件やposition: fixedとの違い。
CSS
ハイブリッド・スクロールをシームレスに機能させるには、2つの重要な要素が必要です。
position: stickyというプロパティは、スクロール中にコンテンツを表示し続けるために非常に重要です。これは本質的にHTMLの流れからコンテンツを切り離しますが、親要素である<div>の範囲内にコンテンツを保持します。- コンテナである
<div>とその中にスクロールする<div>は、同じ高さと幅の値を共有しなければなりません。横方向に”ページ “と呼ぶセクションを追加するごとに、横幅を100%ずつ増やすことが必要です。例えば、6つの”ページ “があれば、600vwの幅が必要になります。
.scroll_container {
  height: 400vh;
}

.sticky_wrap {
  overflow: hidden;
  position: sticky;
  top: 0;
  height: 100vh;
}

.horizontal_scroll {
  position: absolute;
  top: 0;
  height: 100%;
  width: 400vw;
  will-change: transform;
  display: flex;
  justify-content: space-between;
  align-items: center;
}
JavaScript
では、ハイブリッド・スクロールを実現するコードを掘り下げてみます。
まず、コンテナの要素を取得します。
const stickySections = [...document.querySelectorAll('.sticky_wrap')]スプレッド演算子を使って、すべてのコンテナ要素を配列に変換するために使用され、ハイブリッド・スクロールを再利用するのに便利です。
次に、for文を使って各コンテナ要素を繰り返し、スクロールの進行状況を追跡します。
const stickySections = [...document.querySelectorAll('.sticky_wrap')]

window.addEventListener('scroll', (e) => {
  for(let i = 0; i < stickySections.length; i++){
    transform(stickySections[i])
  }
})
そして、メイン処理を担当する関数を作ります。
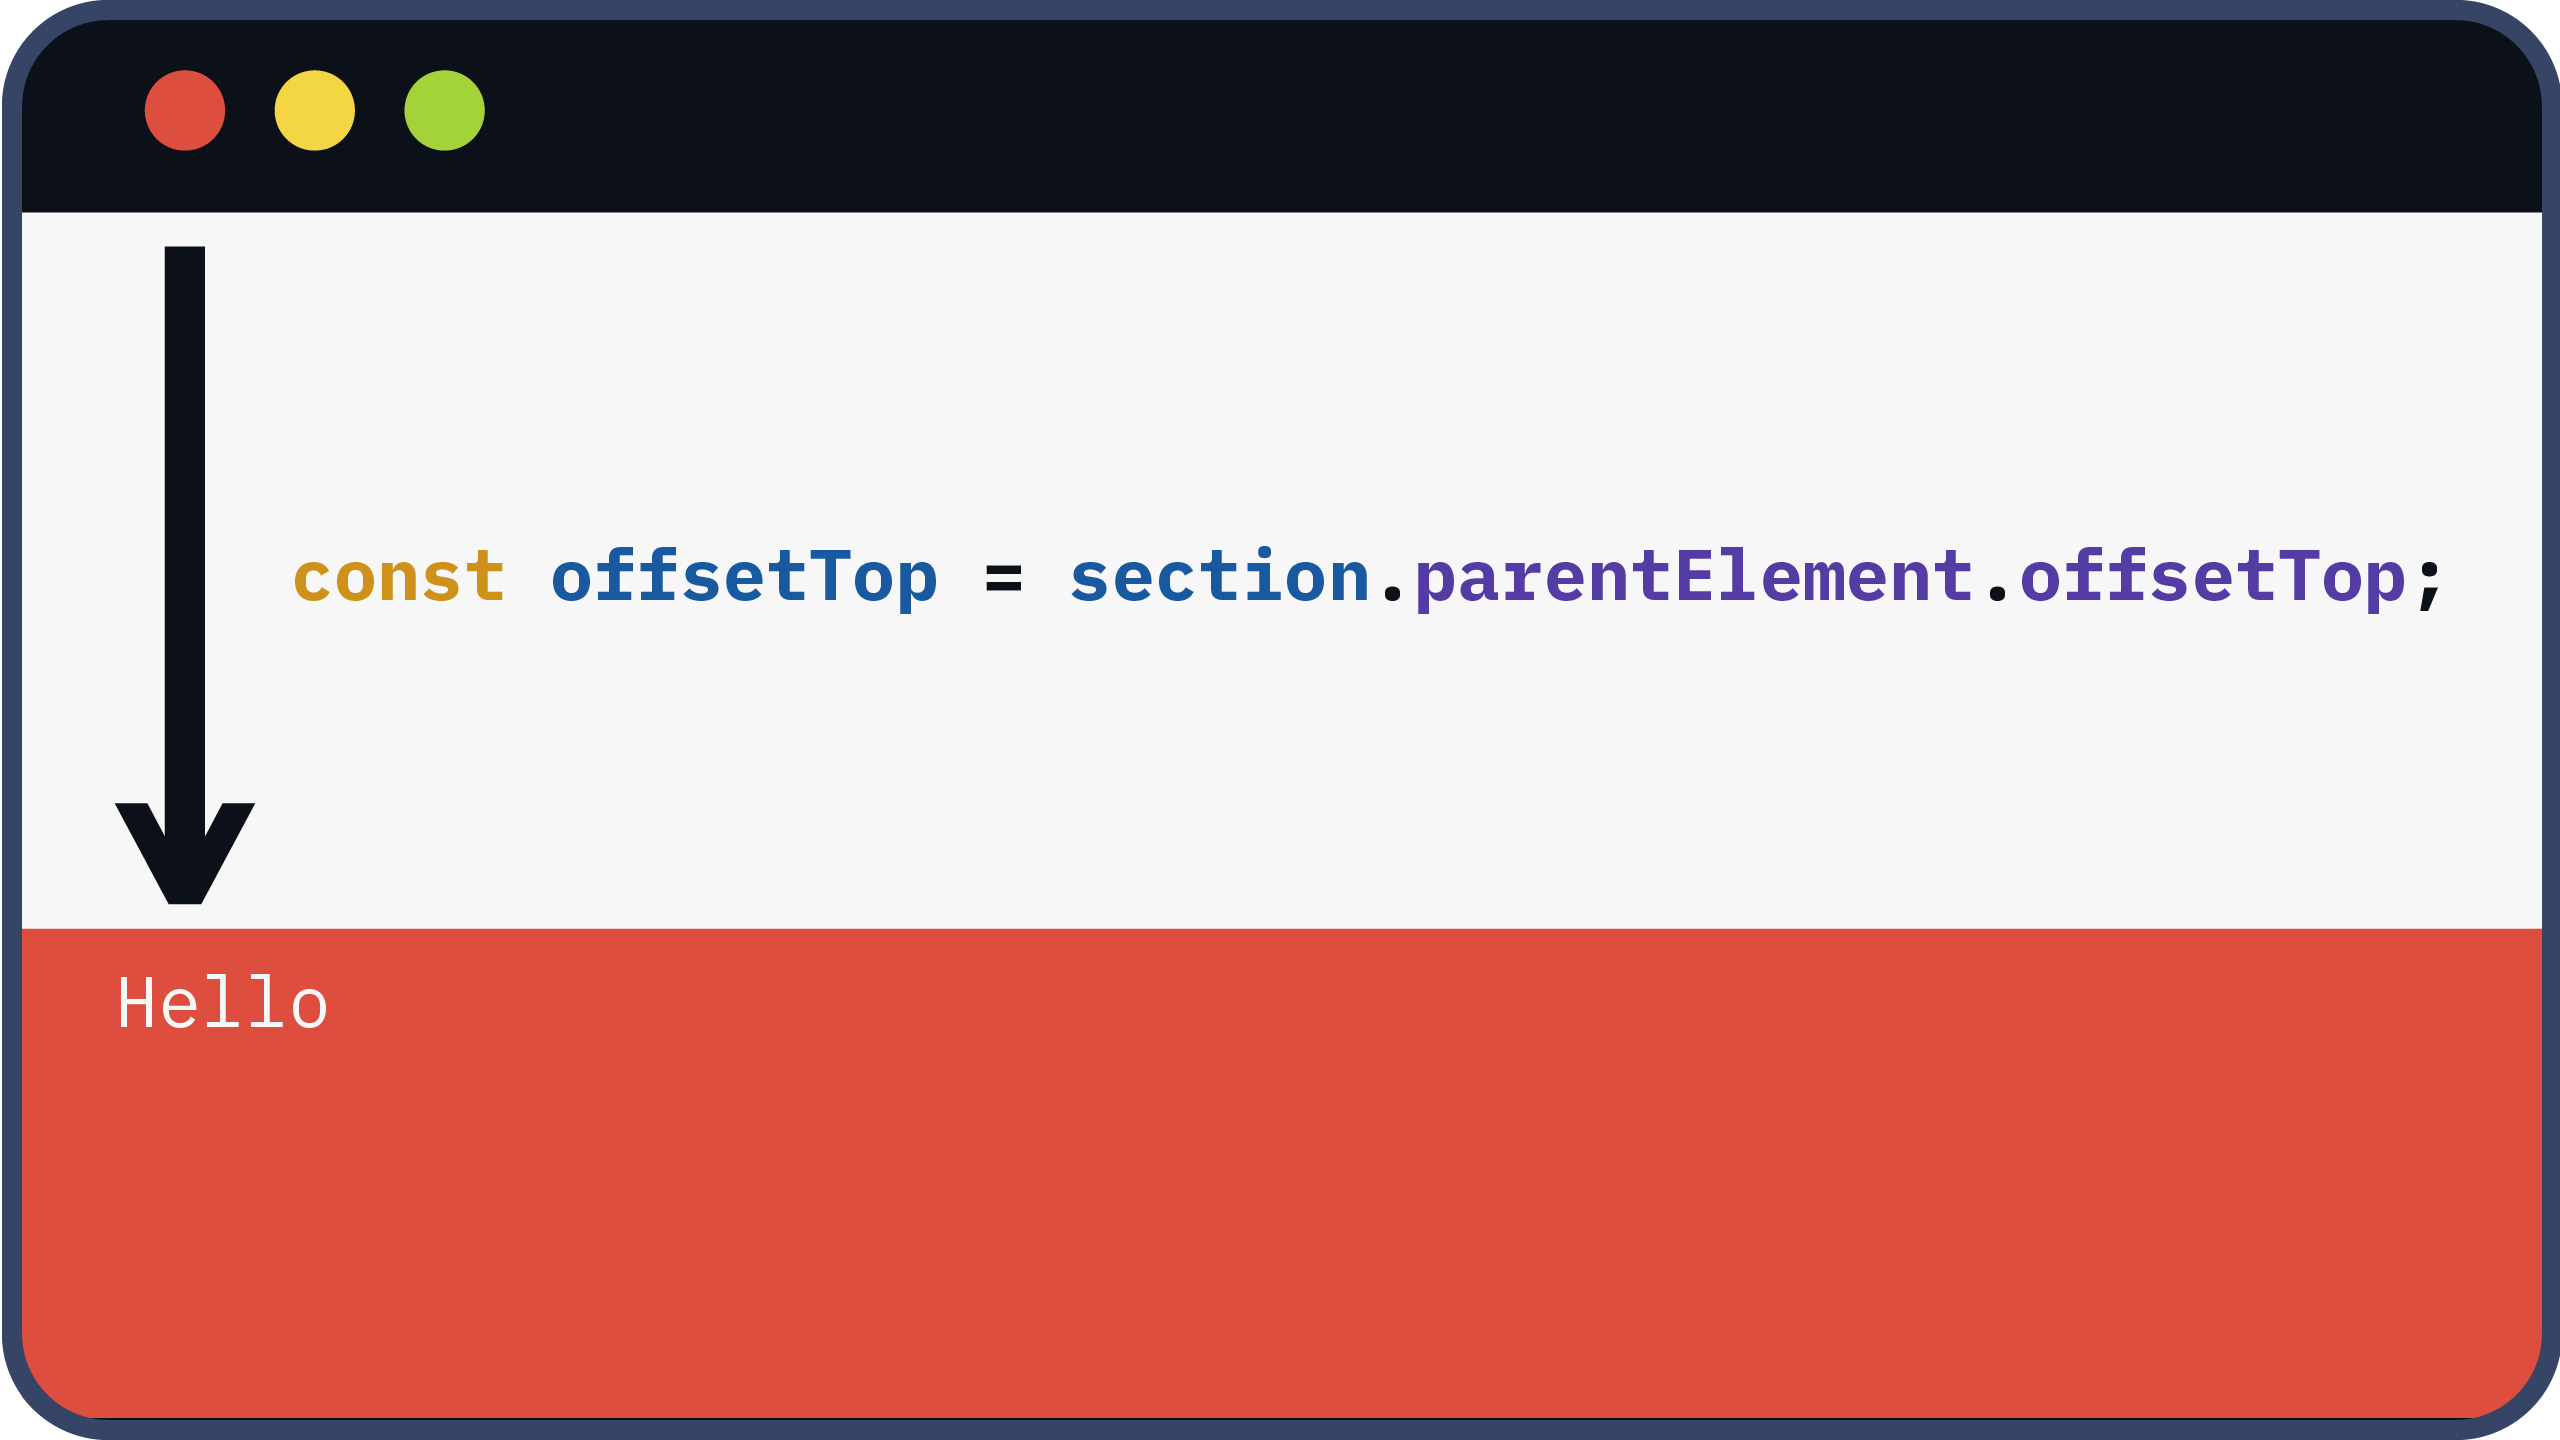
適切なタイミングで水平スクロールを開始するには、ビビューポートの最上部からコンテナ要素の親要素までのオフセットを計算します。
const stickySections = [...document.querySelectorAll('.sticky_wrap')]

window.addEventListener('scroll', (e) => {
  for(let i = 0; i < stickySections.length; i++){
    transform(stickySections[i])
  }
})

function transform(section) {

  const offsetTop = section.parentElement.offsetTop;

}
次に、コンテナ要素内の各スクロール要素を取得します。
const stickySections = [...document.querySelectorAll('.sticky_wrap')]

window.addEventListener('scroll', (e) => {
  for(let i = 0; i < stickySections.length; i++){
    transform(stickySections[i])
  }
})

function transform(section) {

  const offsetTop = section.parentElement.offsetTop;

  const scrollSection = section.querySelector('.scroll_section')

}
ビューポートの最上部とコンテナ要素の親要素間のオフセットを使用して、ピクセル量をVW値に変換します。
const stickySections = [...document.querySelectorAll('.sticky_wrap')]

window.addEventListener('scroll', (e) => {
  for(let i = 0; i < stickySections.length; i++){
    transform(stickySections[i])
  }
})

function transform(section) {

  const offsetTop = section.parentElement.offsetTop;

  const scrollSection = section.querySelector('.scroll_section')

  let percentage = ((window.scrollY - offsetTop) / window.innerHeight) * 100;

}
最後に、計算された値を水平方向の移動量(「x」値)として、VH単位で計算した値をVW単位に変換します
const stickySections = [...document.querySelectorAll('.sticky_wrap')]

window.addEventListener('scroll', (e) => {
  for(let i = 0; i < stickySections.length; i++){
    transform(stickySections[i])
  }
})

function transform(section) {

  const offsetTop = section.parentElement.offsetTop;

  const scrollSection = section.querySelector('.scroll_section')

  let percentage = ((window.scrollY - offsetTop) / window.innerHeight) * 100;

  scrollSection.style.transform = `translate3d(${-(percentage)}vw, 0, 0)`
}
translate(${-(percentage)}vw, 0)でも同じ効果が得られますが、translate3dを使用すると、グラフィックス処理能力を利用してパフォーマンスを向上させることができます。
特定のスクロール位置の範囲内でのみ水平スクロールが開始されるように、以下の条件を設定しました:
- オフセットが0以下の場合は、何もしない。
- 同様に、オフセットがある閾値(例えば、コンテナ要素の高さに基づいて300vh)を超えた場合、オフセットは変更されません。
- この閾値はコンテナ要素の高さより100vh小さく設定されます。
const stickySections = [...document.querySelectorAll('.sticky_wrap')]

window.addEventListener('scroll', (e) => {
  for(let i = 0; i < stickySections.length; i++){
    transform(stickySections[i])
  }
})

function transform(section) {

  const offsetTop = section.parentElement.offsetTop;

  const scrollSection = section.querySelector('.scroll_section')

  let percentage = ((window.scrollY - offsetTop) / window.innerHeight) * 100;

  percentage = percentage < 0 ? 0 : percentage > 300 ? 300 : percentage;

  scrollSection.style.transform = `translate3d(${-(percentage)}vw, 0, 0)`
}
その他の例
以下は、画像を表示する要素を使った同じ方法の例です。
See the Pen hybrid scrolling by bibomato (@bibomato) on CodePen.
水平スクロールの開始と終了を決めるパーセンテージの値は、コンテナ要素内のスクロール要素の数が増えるにつれて調整されます。
さらに、ハイブリッド・スクロールを採用しているウェブサイトを紹介します。
ただし、これらのサイトのスクロールの方向を切り替えるは、異なるテクニックを使っていることがありますので注意してください。
まとめ
約10行のJavaScriptで、このハイブリッド・スクロールを実装し、プロジェクトに洗練された雰囲気を与えることができます。
これを参考にして、ウェブサイトの独自の要件に応じて自由にカスタマイズしてみてください。
ありがとうございました!
-M


